Here you’ll find instructions for how to make a lavender bag from our 2020 creative kit. The lavender was grown in Brookmill Park and harvested in September by the garden group. Lavender scents your clothes and is meant to help repel moths. It also aids sleep and helps to relieve anxiety.
Artist: Cash Aspeek
Photographer: Roman Aspeek Bloor
•Paper pattern
•Wool felt
•Embroidery threads
•Needle
•Ribbon
•Lavender
•Pencil
•Scissors
•A pot for your lavender seed heads
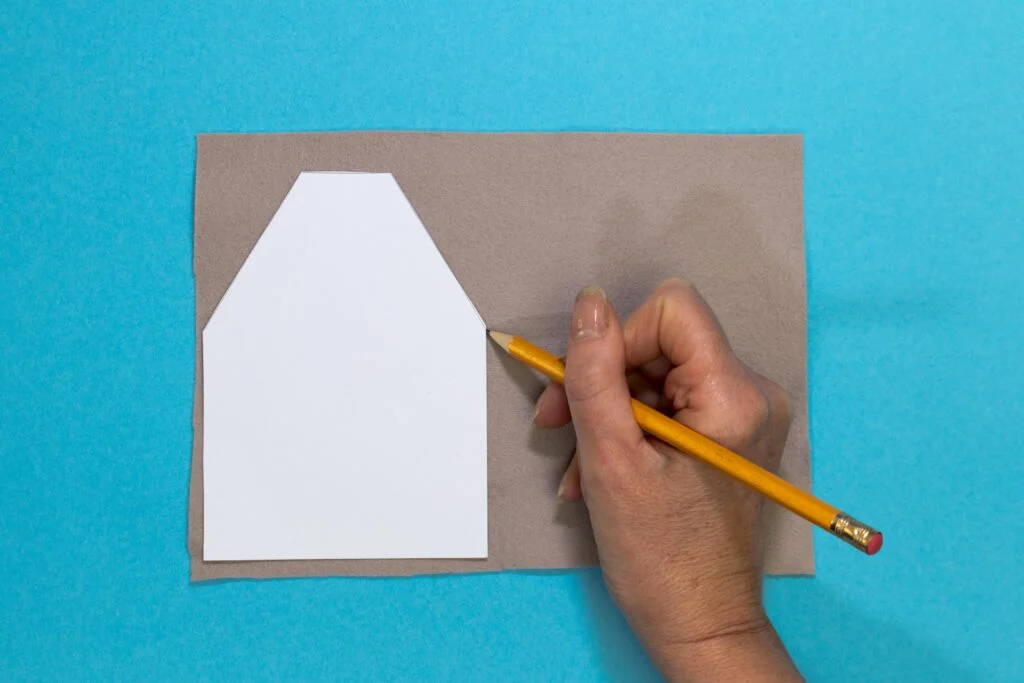
1. Your paper pattern shows a house shape. You can use this to lay on your felt, draw around and cut out two.
2. You can use the paper pattern to create a design for each side of your lavender bag. Here is an idea. They can be any design you like. You could use your own door number on the house design and your favourite tree or flower on the other side.
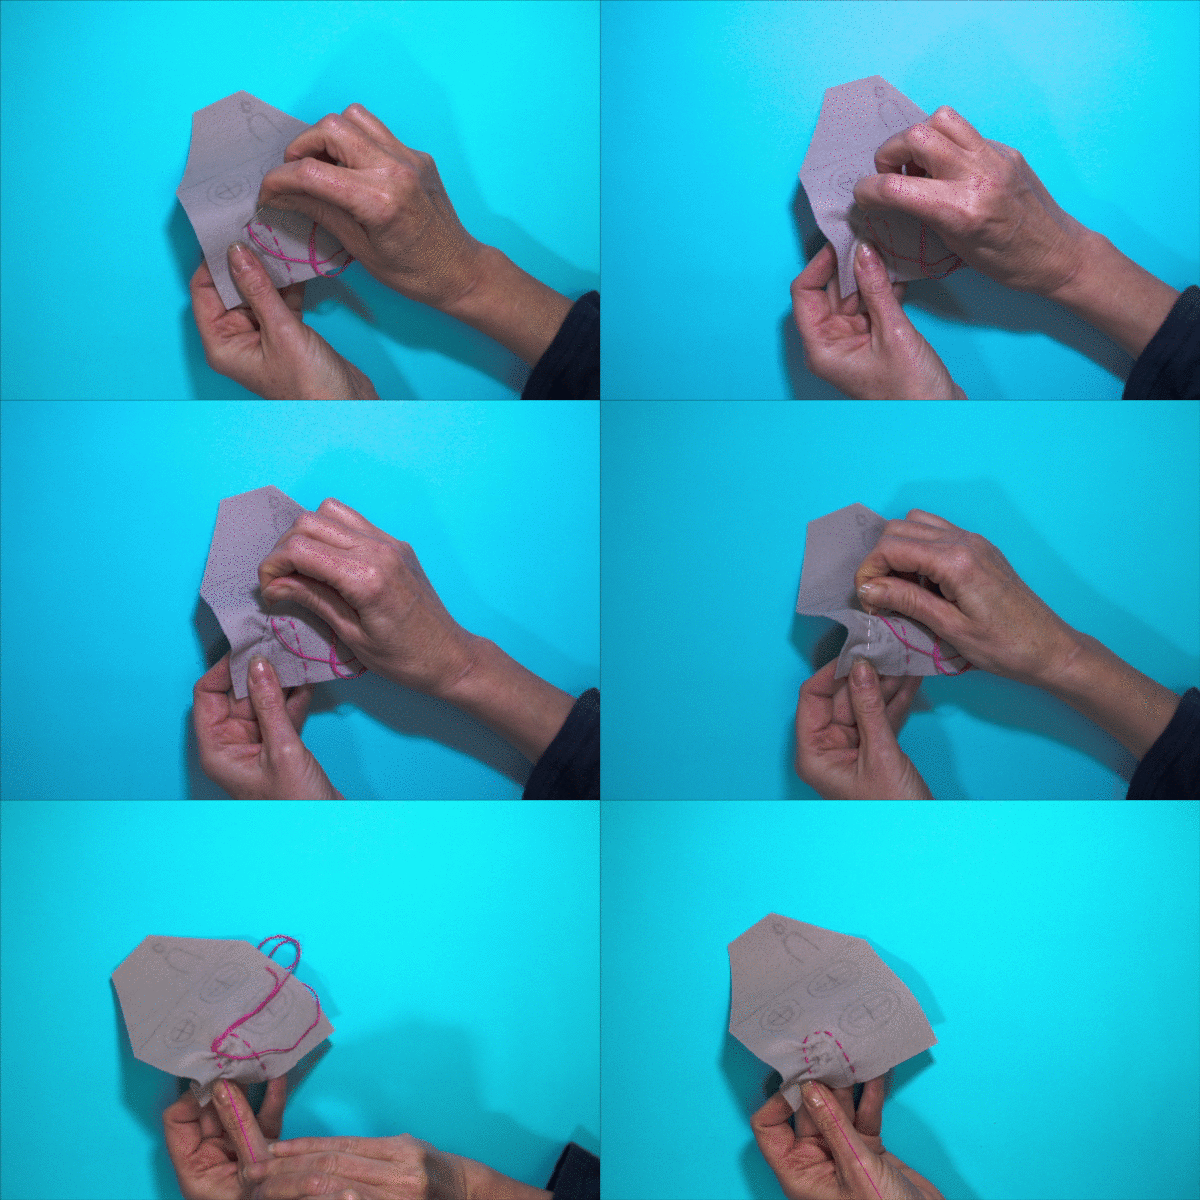
3. You need to embroider each side separately. Transfer your design to the felt using your pencil. Be aware that your pencil mark needs to be covered by your stitches, so make your mark just enough to see.
4. You have several colours of embroidery thread. If you look closely you will see that each length is made up of six strands. As you need them, split these six into two lengths of three strands each.
Knot one end, thread the other into your needle. Draw the thread in from the wrong side and begin to stitch covering the pencil design. The stitches can be long or short like running stitch, or you can try alternative stitches demonstrated in this Youtube video https:// youtu.be/4tboUqTV41U

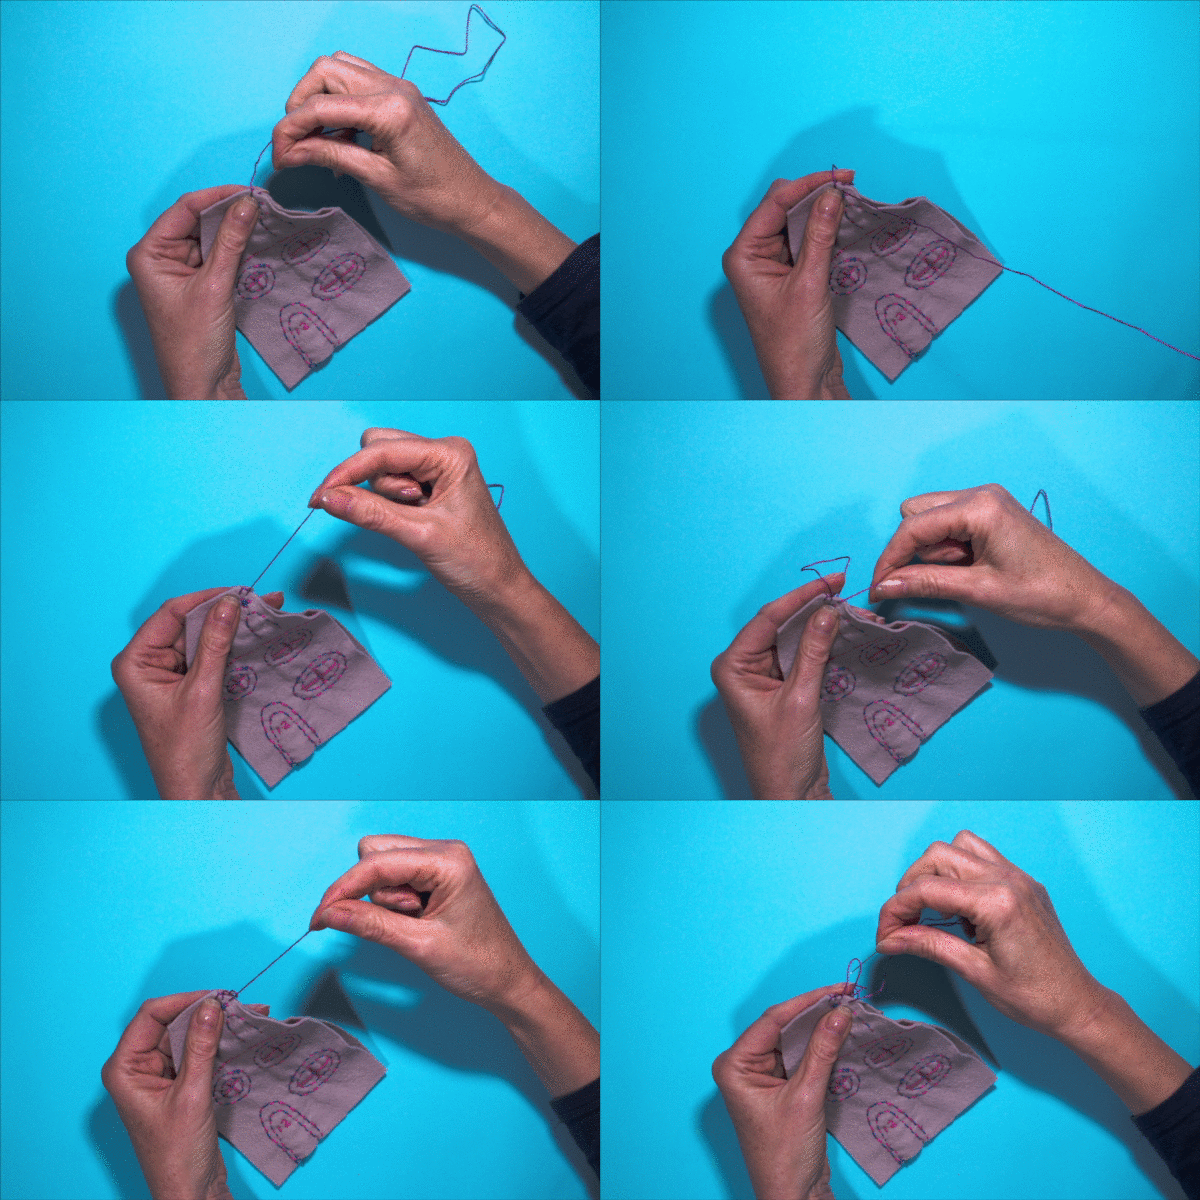
5. When both sides are embroidered with your design, you need to begin to stitch both sides together. I have used blanket stitch but overstitch is just as good. Start at one side of the roof slope and work your way down that side, down the wall, along the bottom, up the other wall and stop.
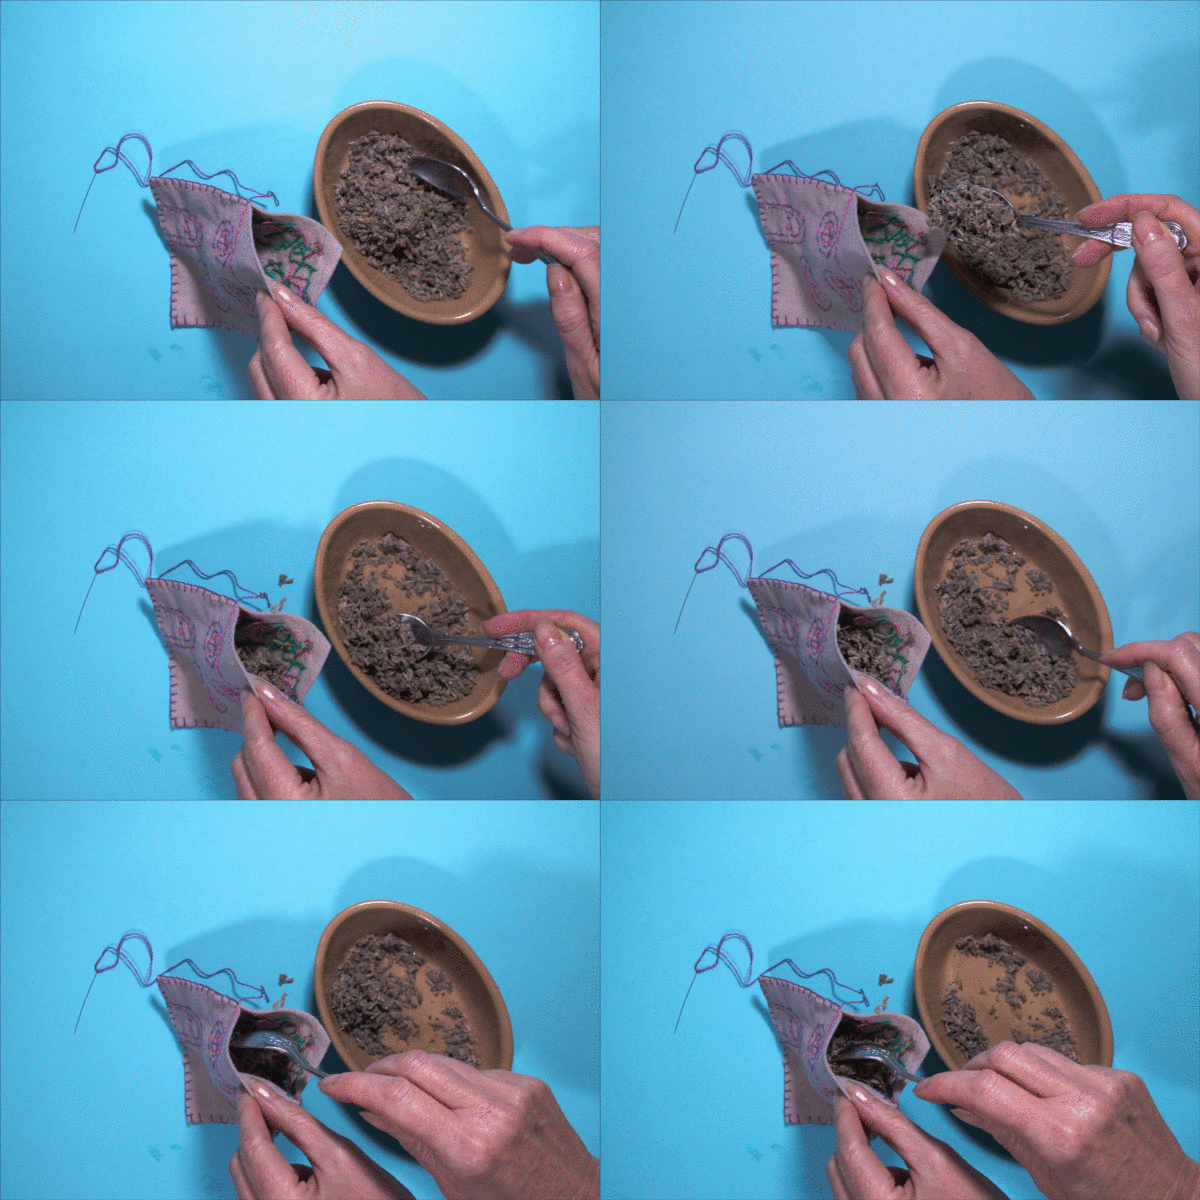
6. Now you need to remove your lavender seed heads into a pot. Try to avoid any stalks. You can do this by gently rolling your bunch between your hands so that the seed heads fall into your pot.
7. Spoon your lavender into the top of your lavender bag
8. Continue stitching the last roof slope.
9. You are now left with the top. Fold your ribbon in two, tuck both ends into the top and continue stitching, securing the ribbon.
10. Your lavender bag is complete! We hope you enjoyed making it. Please send photos of your completed bag/s. We’d love to show them on our website and social media.